创建作者表单
本章节演示,如何为创建作者对象Author定义一个页面。
导入验证和清理方法
为了在种类表单使用 express 验证器,我们必须用 require 导入我们想用的函式。
打开 /controllers/authorController.js,并在档案最上方加入底下几行:
const { body, validationResult } = require("express-validator/check");
const { sanitizeBody } = require("express-validator/filter");
控制器—get 路由
找到导出的 author_create_get()控制器方法,并替换为底下代码。这里单纯呈现 author_form.pug 视图,传送 title 变数。
// Display Author create form on GET.
exports.author_create_get = function (req, res, next) {
  res.render("author_form", { title: "Create Author" });
};
控制器—post 路由
找到导出的 author_create_post() 控制器方法,并替换为底下代码。
// Handle Author create on POST.
exports.author_create_post = [
  // Validate fields.
  body("first_name")
    .isLength({ min: 1 })
    .trim()
    .withMessage("First name must be specified.")
    .isAlphanumeric()
    .withMessage("First name has non-alphanumeric characters."),
  body("family_name")
    .isLength({ min: 1 })
    .trim()
    .withMessage("Family name must be specified.")
    .isAlphanumeric()
    .withMessage("Family name has non-alphanumeric characters."),
  body("date_of_birth", "Invalid date of birth")
    .optional({ checkFalsy: true })
    .isISO8601(),
  body("date_of_death", "Invalid date of death")
    .optional({ checkFalsy: true })
    .isISO8601(),

  // Sanitize fields.
  sanitizeBody("first_name").trim().escape(),
  sanitizeBody("family_name").trim().escape(),
  sanitizeBody("date_of_birth").toDate(),
  sanitizeBody("date_of_death").toDate(),

  // Process request after validation and sanitization.
  (req, res, next) => {
    // Extract the validation errors from a request.
    const errors = validationResult(req);

    if (!errors.isEmpty()) {
      // There are errors. Render form again with sanitized values/errors messages.
      res.render("author_form", {
        title: "Create Author",
        author: req.body,
        errors: errors.array(),
      });
      return;
    } else {
      // Data from form is valid.

      // Create an Author object with escaped and trimmed data.
      var author = new Author({
        first_name: req.body.first_name,
        family_name: req.body.family_name,
        date_of_birth: req.body.date_of_birth,
        date_of_death: req.body.date_of_death,
      });
      author.save(function (err) {
        if (err) {
          return next(err);
        }
        // Successful - redirect to new author record.
        res.redirect(author.url);
      });
    }
  },
];
此代码的结构和行为,几乎与创建Genre对象完全相同。首先,我们验证并清理数据。如果数据无效,那么我们将重新显示表单,以及用户最初输入的数据,和错误消息列表。如果数据有效,那么我们保存新的作者记录,并将用户重定向到作者详细信息页面。
备注: 与Genre post 处理程序不同,我们不会在保存之前,检查Author对象是否已存在。可以说,我们应该这样做,尽管现在我们可以有多个具有相同名称的作者。
验证代码演示了几个新功能:
- 我们可以用菊花链式连接验证器,使用
withMessage()指定在前一个验证方法失败时,显示的错误消息。这使得在没有大量代码重复的情况下,提供特定的错误消息变得非常容易。js// Validate fields. body('first_name').isLength({ min: 1 }).trim().withMessage('First name must be specified.') .isAlphanumeric().withMessage('First name has non-alphanumeric characters.'), - 我们可以使用
optional()函数,仅在输入字段时运行后续验证(这允许我们验证可选字段)。例如,下面我们检查可选的出生日期是否符合 ISO8601 标准(checkFalsy旗标,表示我们接受空字符串或null作为空值)。jsbody('date_of_birth', 'Invalid date of birth').optional({ checkFalsy: true }).isISO8601(), - 参数从请求中作为字符串接收。我们可以使用
toDate()(或toBoolean()等)将这些转换为正确的 JavaScript 类型。jssanitizeBody('date_of_birth').toDate(),
视图
创建 /views/author_form.pug 并复制贴上以下文字。
extends layout

block content
  h1=title

  form(method='POST' action='')
    div.form-group
      label(for='first_name') First Name:
      input#first_name.form-control(type='text' placeholder='First name (Christian) last' name='first_name' required='true' value=(undefined===author ? '' : author.first_name) )
      label(for='family_name') Family Name:
      input#family_name.form-control(type='text' placeholder='Family name (surname)' name='family_name' required='true' value=(undefined===author ? '' : author.family_name))
    div.form-group
      label(for='date_of_birth') Date of birth:
      input#date_of_birth.form-control(type='date' name='date_of_birth' value=(undefined===author ? '' : author.date_of_birth) )
    button.btn.btn-primary(type='submit') Submit
  if errors
    ul
      for error in errors
        li!= error.msg
此视图的结构和行为与genre_form.pug模板完全相同,因此我们不再对其进行描述。
备注: 某些浏览器不支持 input type=“date”,因此你不会获得日期选取部件或默认的*dd/mm/yyyy*占位符,而是获取一个空的纯文本字段。一种解决方法,是明确添加属性placeholder='dd/mm/yyyy',以便在功能较少的浏览器上,仍然可以获得有关所需文本格式的信息。
自我挑战:加入死亡日期
上面的模板少了一个输入字段 date_of_death 。依照跟生日表单同样的模式,创建此字段!
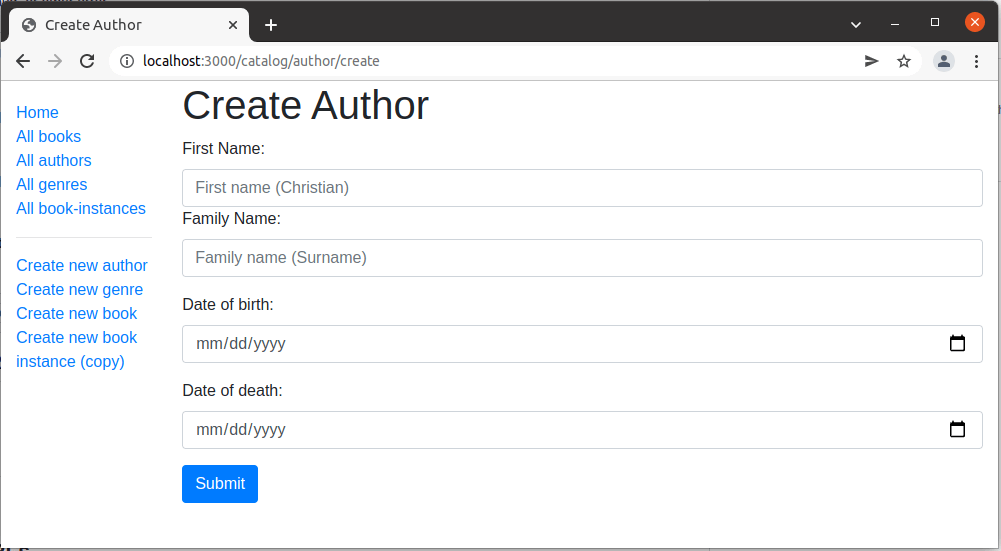
它看起來像是?
运行本应用,打开浏览器访问网址http://localhost:3000/,然后点击创建新作者 Create new author 连结。如果每个东西都设定正确了,你的网站看起应该像底下的截图。在你输入一个值之后,它应该会被储存,并且你将被带到作者详细信息页面。
备注: 如果你尝试使用日期的各种输入格式,你可能会发现格式yyyy-mm-dd行为不正常。这是因为 JavaScript 将日期字符串,视为包含 0 小时的时间,但另外将该格式的日期字符串(ISO 8601 标准)视为包括 0 小时 UTC 时间,而不是本地时间。如果你的时区在 UTC 以西,则日期显示(即本地)将在你输入的日期之前一天。这是我们在这里没有解决的几个复杂问题之一(例如多字姓和有多个作者的书本)。
下一步
- 回到 Express 教程 6: 使用表单
- 继续教程 6 的下一个部分:创建书本表单